Hello all! I hope you can all forgive me for my absence, it is approaching finals week... and I am less then a month away from graduating from my current college. eep!! Needless to say, I have been busy!
Alright ladies, remember theses looks?
This is one of my absolute favorite techniques for applying outrageous lip color or adding a little bit of spark to any look. I generally use 3 different techniques for applying color to my lippies, but this technique is my absolute favorite for applying OPAQUE color. Now, you don't neccessarily have to do this with a "loud" color as I tend to do, you can do this with red, pink, etc.
For this tutorial you will need:
The pigment (or pigments) of your choice. For this tutorial, I will be demonstrating how I concoct my sexy black gloss, as per multiple requests!! <3
A brush for application. (a lip brush would work best, but I prefer using a concealer brush!)
Toothpicks, or something for mixing the gloss. The back end of a makeup brush works too!
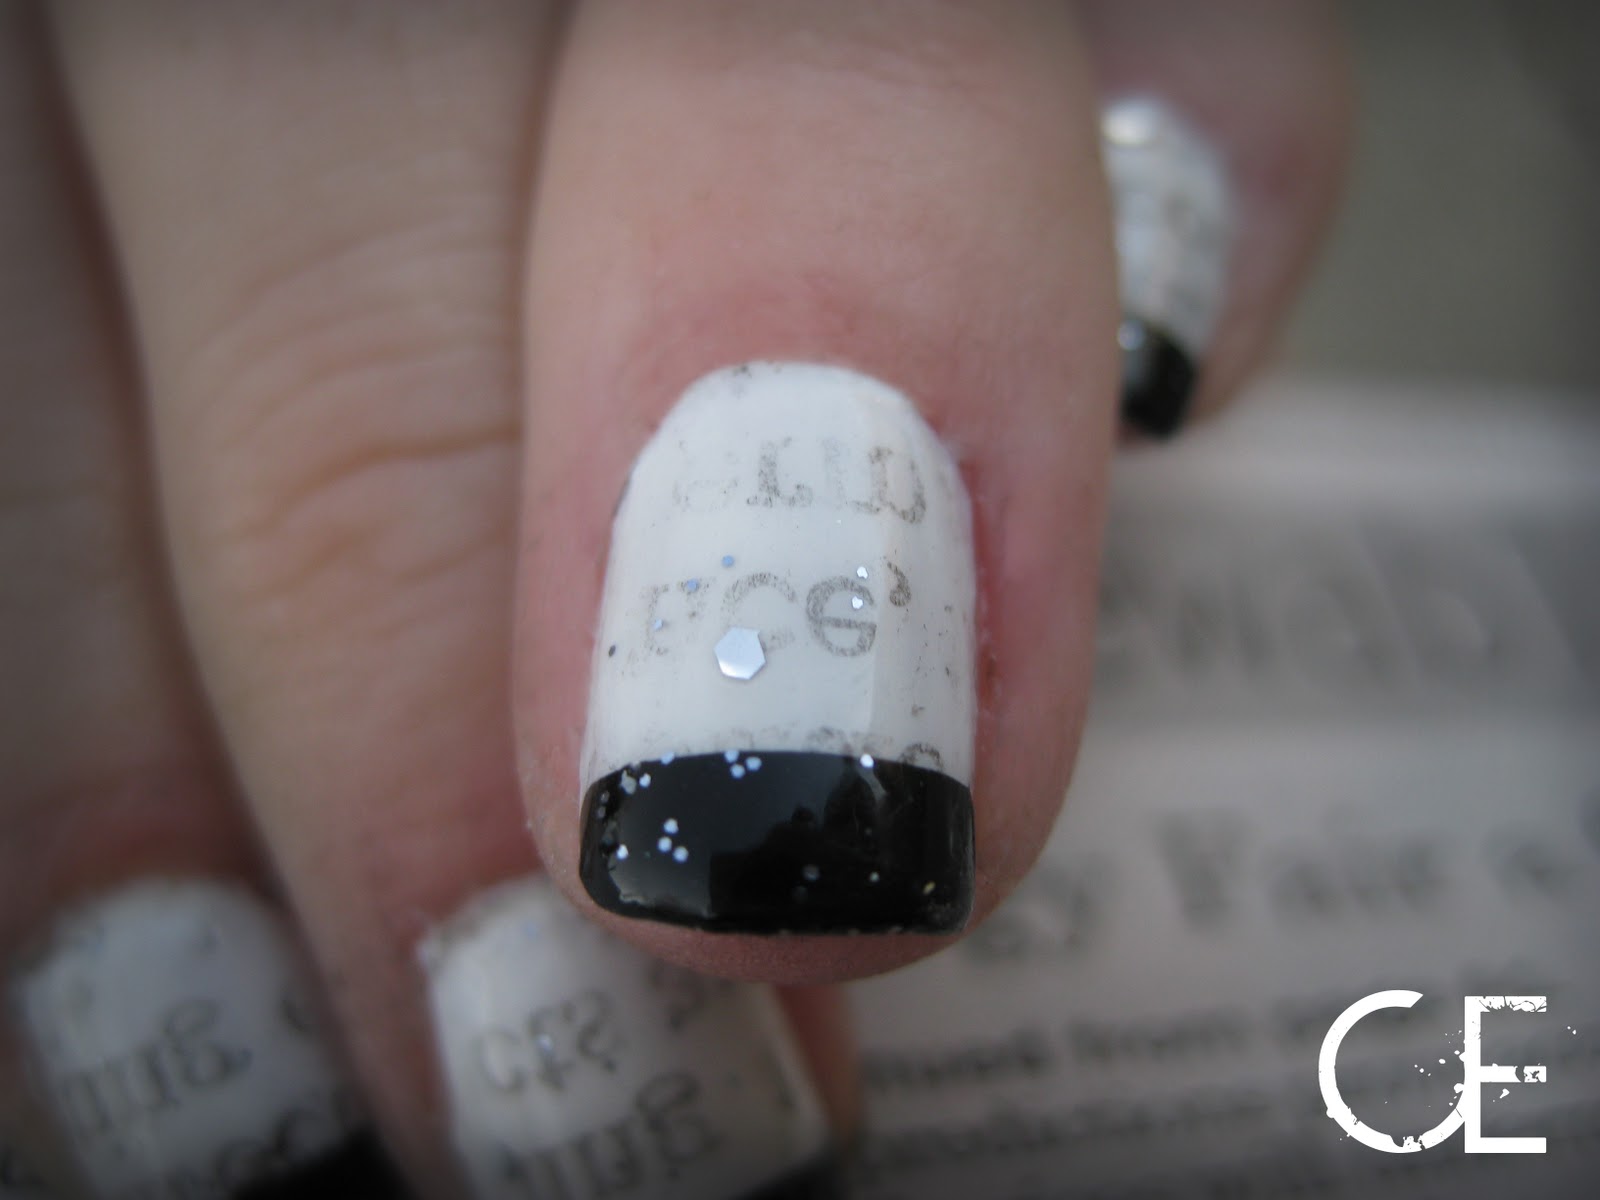
If you plan on making more than one wear's-worth of gloss, a standard pigment pot works great for storage. For this tutorial, I used a standard 3 gram jar. For more information on how to "recycle" your empty pots, and sanitize them properly, see Krissy's guide here:
http://www.facebook.com/note.php?note_id=197384006957791
Lastly, the gloss of your choice (not pictured). For this technique, I PREFER to use sticky glosses. Now, I know some of you just cringed in your seats. Why do I prefer the thick and sticky type? For me, I have found that the pigments mix more thoroughly and covers a lot more opaque than otherwise, and stay quite a bit longer. If you use a thinner gloss as your base, you might have to apply much more than you would usually wear to get the coverage as seen in my photos. :)
Let's get this party started.
Fill your clean pot with the gloss of your choice. I filled mine about 3/4 full. For this tutorial, I used a mixture of Victoria's Secret Beauty Rush Gloss in Sugar Rush, a FABULOUS clear sparkling gloss. For those of you that are familiar with the VS glosses, you know that these things are thick! I also use a tiny bit of Rimmel's Twinkle Pink gloss to add a little bit more sparkle.
Pink you say? yes. Why?
Well, I will be adding black to the gloss, it will overpower the pale pink. This same thing works with colors other than black too. If you have a highly tinted gloss, it will tint the end result as well. You can use this in your favor! For example, if you want a really deep red, use a red gloss in tandem with red pigment!
For this tutorial, I used my favorite black for gloss: Madd Style Cosmetics' Spooky Girl. O.O
so. smexy.
Add a fair amount of pigment straight to your gloss.
..... and if you are horribly clumsy like me, I would suggest using a brush to push it into the pot. ;P
This is about how much pigment I add to the gloss base. Of course, the more pigment you add, the more opaque your gloss will become. Since I prefer the black to be SUPER opaque, I generally add about half to 3/4 of a teaspoon of pigment. (Keep in mind that this will fill a 3g pot.)
Once your pigment is on the gloss base, mix 'er up! I used a toothpick, but the end of a brush works well too! To be honest, that is what I usually do.... but I wanted the ease of throwing the toothpicks away this time :)
From here, you can add gloss or pigment, glitter or what-have-you until your gloss is what you are looking for. I added just a *touch* of Madd Style's Dazzle Dust.
Application
For application, I LOVE using a concealer brush. I like that I can have good control over tight lines. I do own a lip brush, but it *is* kinda crappy. I have also found that my concealer brush blends colors and gradients much better too! (video tutorial to come!)
This technique is not as long-wear as some other techniques I am going to share with you, but it is certainly my favorite for crazy, kick ass lips! Reapply gloss as needed. :)
And there you have it! As I said, I will be posting 2 more techniques regarding lip color in the near future... watch out! <3